Disclaimer, just in case…
I work for Google on the Chrome Developer Relations team. But for this post, I want to make it super duper clear that I'm speaking not on behalf of my employer and that all views and opinions expressed in this blog post are purely my own: Thomas Steiner's, the guy commonly known for his avatar with a green hat, but today in my pajamas having my second morning coffee. Oh, thanks for asking, the two cats are Lluna (yes, with double 'l', it means moon in Catalan) Norris, looking at the camera, and Skinny Norris, looking out of the window.

How I noticed
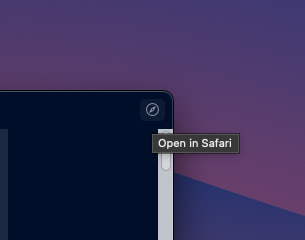
With this out of the way, it's time to dive in and answer the question of what exactly did Apple break in the EU? I'm physically located in the European Union and my iPhone has a German SIM card. On January 30, 2024, I sent the following toot with attached screenshot (cropped here):
Hope this is a bug in the beta, but opening previously installed Home Screen Web apps on iOS 17.4 (21E5184i) results in a prompt:
Open "Example app" in Safari. "Example app" will open in your default browser from now on.
Newly installed apps always open in the browser. There doesn't appear to be a standalone mode anymore.
Reported as FB13567834.

The toot that all the news outlets cited was the one from Mysk from February 1, 2024, that said:
🎬 Finally, iOS treats all browsers equally when it comes to PWAs. Previously, only Safari was able to install and run PWA apps. With iOS 17.4 beta in the EU, no browser can install PWA apps, even Safari. It seems PWAs have been disabled entirely.
Oh yes, when you set a third-party browser as the default browser and then you delete it, iOS sets Safari as the default browser. Watch this:
#iOS #Apple #DMA #EU #maliciouscompliance
Then, on February 2, 2024, Tixie opened a WebKit bug titled "Bug 268643 - [iOS 17.4 Beta (21E5184k)] REGRESSION: PWA added to Home Screen are forced to open in Safari."
🆕 Update: The message in the release candidate of iOS 17.4 (21E217) is now: "Open 'Example app' in 'Default browser'? In your region, web apps now open in your default browser".
What does Apple say?
By now, you have probably heard that users in the EU don't have access to Home Screen web apps anymore. Here is Apple's statement in its full glorious detail:
To comply with the Digital Markets Act, Apple has done an enormous amount of engineering work to add new functionality and capabilities for developers and users in the European Union — including more than 600 new APIs and a wide range of developer tools.
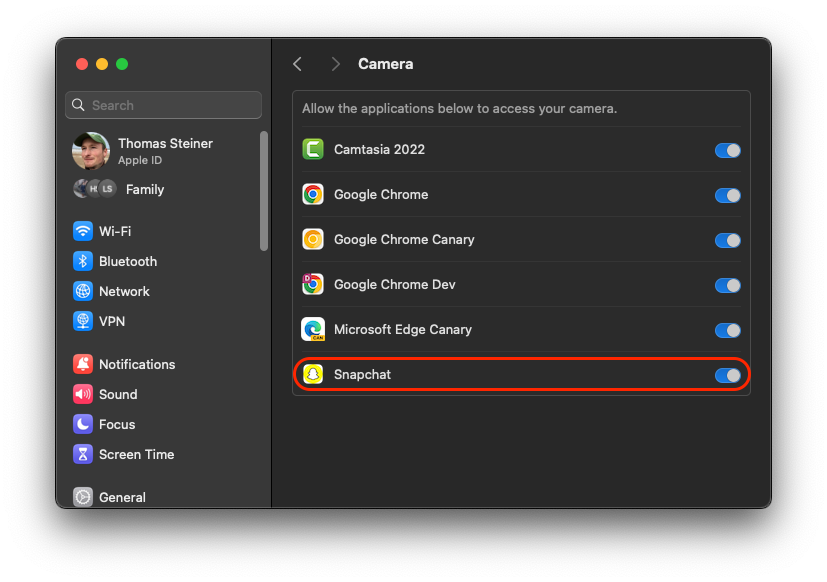
The iOS system has traditionally provided support for Home Screen web apps by building directly on WebKit and its security architecture. That integration means Home Screen web apps are managed to align with the security and privacy model for native apps on iOS, including isolation of storage and enforcement of system prompts to access privacy impacting capabilities on a per-site basis.
Without this type of isolation and enforcement, malicious web apps could read data from other web apps and recapture their permissions to gain access to a user's camera, microphone or location without a user's consent. Browsers also could install web apps on the system without a user's awareness and consent. Addressing the complex security and privacy concerns associated with web apps using alternative browser engines would require building an entirely new integration architecture that does not currently exist in iOS and was not practical to undertake given the other demands of the DMA and the very low user adoption of Home Screen web apps. And so, to comply with the DMA's requirements, we had to remove the Home Screen web apps feature in the EU.
EU users will be able to continue accessing websites directly from their Home Screen through a bookmark with minimal impact to their functionality. We expect this change to affect a small number of users. Still, we regret any impact this change — that was made as part of the work to comply with the DMA — may have on developers of Home Screen web apps and our users.
These changes are iOS only!
The first important thing to note here is that this statement exclusively applies to iOS, but not iPadOS and not macOS. This works because Apple managed to convince the EU Commission that iPadOS and macOS are distinct core platform services. The relevant section of the DMA says:
Moreover, the Commission considers, in line with Apple's view, that iOS, iPadOS, macOS, watchOS, and tvOS constitute distinct CPSs [core platform > services] within the meaning of Article 2, point (2), sub (f), of Regulation (EU) 2022/1925.
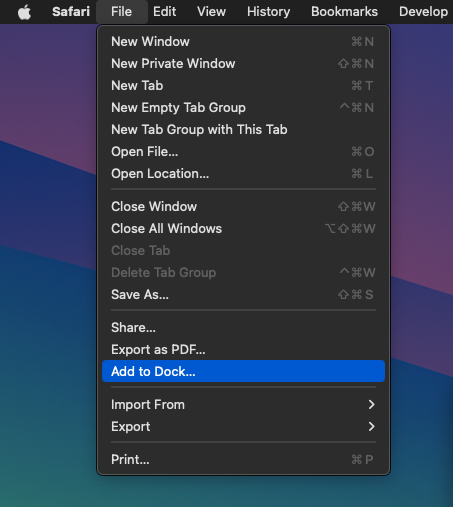
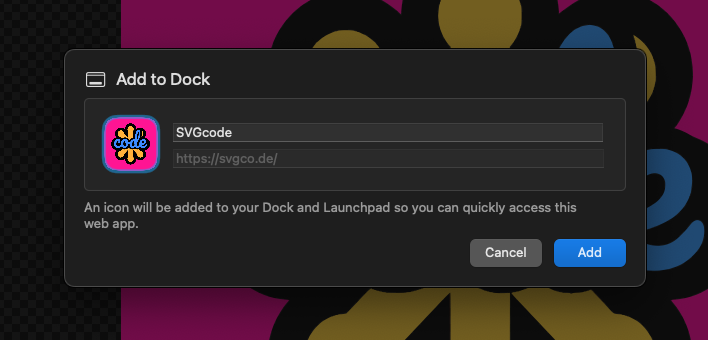
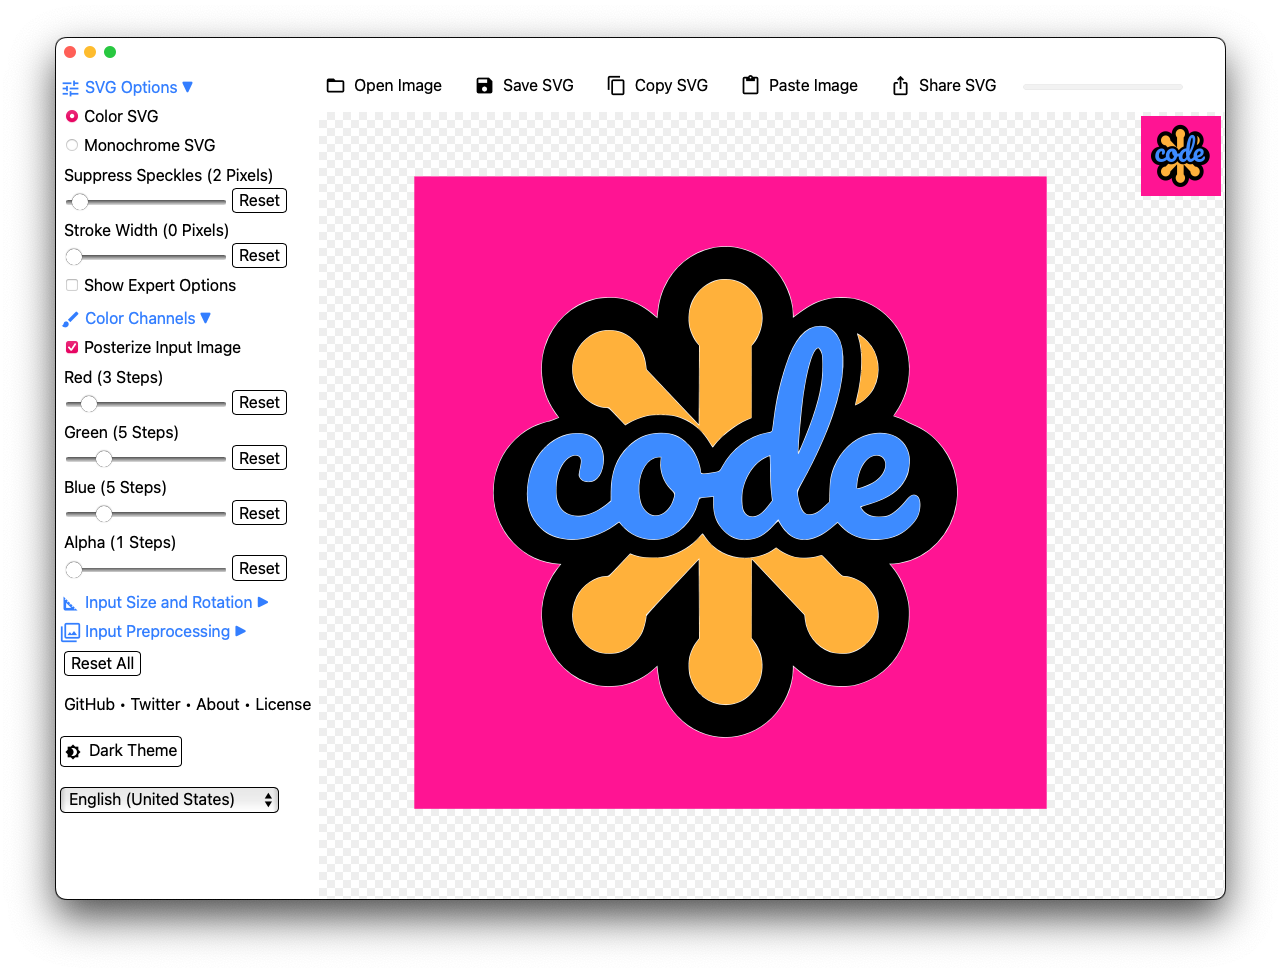
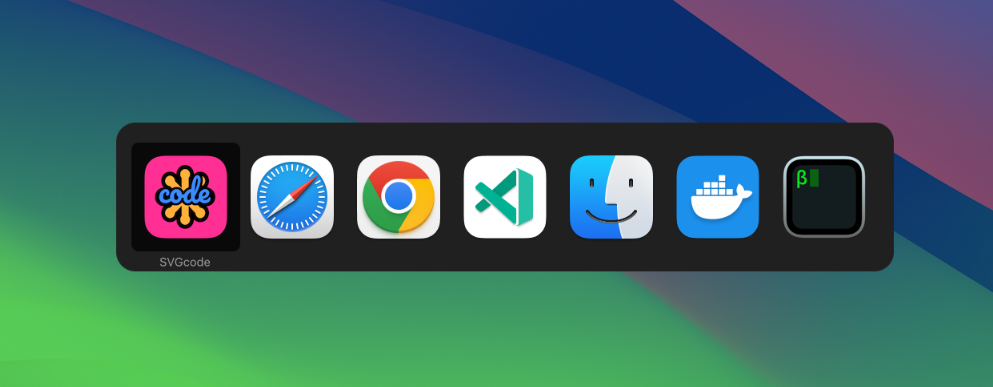
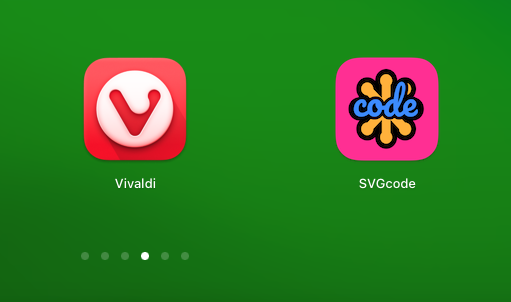
This means on iPadOS and macOS, everything will stay the same. You can still add Web apps to the Home Screen on iPadOS or the Dock on macOS, and they will open in standalone mode as they always did.
💡 Note: This article exclusively talks about Home Screen Web Apps, not
bookmarks. According to
Apple's documentation,
"Web developers have the option to create a
manifest file (with its
display
member set to standalone or fullscreen) and serve it along with their
website. If they do, that site becomes a Home Screen web app. Then, when you tap
on its icon, the web app opens like any other app on iOS or iPadOS instead of
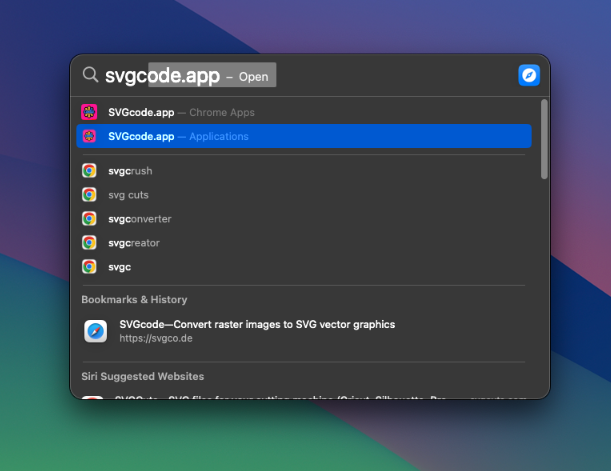
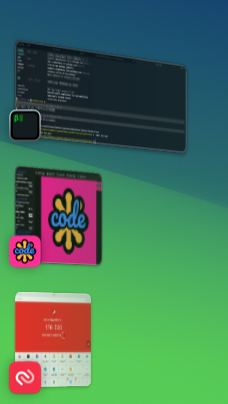
opening in a browser. You can see its app preview in the
App Switcher, separate from Safari
or any other browser."
What happens on iOS?
Looking now at iOS. If…
- you have an iPhone that runs (betas of) iOS 17.4 or later, and iff (if and only if)…
- you are detected as being in the European Union (EU), you can still add apps to the Home Screen, but they will open in a regular new browser tab in your default browser.
How exactly Apple detects if you're in the EU isn't clear yet. It seems not to
be based on the SIM operator, as some users claim they are affected even on
SIM-less iPhones. Possibly IP geolocation as it doesn't require location access?
Or maybe GPS for improved accuracy based on a system-level access grant? What
about travelers in the EU from non-EU countries? I hope we will find out
eventually. People
started noticing
an IDENTIFIABLE_REGION string in iOS 17.4 beta 1 (21E5184i) as early as
January 25, 2024, but it was removed in the next beta.
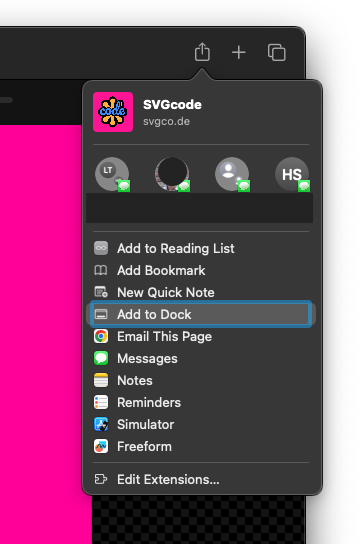
💡 Note: Since iOS 16.4, apart from Safari, alternative browsers, too, have
the ability to add apps to the Home Screen. Based on
Apple's instructions,
"if your app has the
com.apple.developer.web-browser
entitlement, the iOS share sheet can offer Add to Home Screen for an http or
https webpage, creating a convenient link to a web app or bookmark. To allow
someone to add the current webpage to the Home Screen, include the WKWebView
instance in the activityItems array when you call
init(activityItems:applicationActivities:)
to create the UIActivityViewController."
There are different scenarios listed in the following.
You previously added an app to the Home Screen with Safari
In this case, the app will open in a regular new browser tab in your current default browser. It doesn't matter if Safari was your default browser when you added the app to the Home Screen, it will still open in your current default browser.
You previously added an app to the Home Screen with an alternative browser that has the com.apple.developer.web-browser entitlement
In this case, the app will open in a regular new browser tab in your current default browser. It doesn't matter if the alternative browser was your default browser when you added the app to the Home Screen, it will still open in your current default browser.
You newly add an app to the Home Screen with Safari
In this case, the app will open in a regular new browser tab in your current default browser. It doesn't matter if Safari was your default browser when you added the app to the Home Screen, it will still open in your current default browser.
You newly add an app to the Home Screen with an alternative browser that has the com.apple.developer.web-browser entitlement
In this case, the app will open in a regular new browser tab in your current default browser. It doesn't matter if the alternative browser was your default browser when you added the app to the Home Screen, it will still open in your current default browser.
What breaks?
As you see, all the cases mentioned above lead to the same result, a new tab in your current default browser. While simple to understand, there are a number of things that now break.
Push API
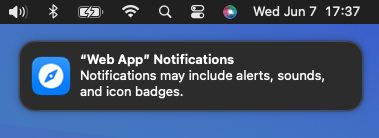
The Push API was described in the article Web Push for Web Apps on iOS and iPadOS published on February 16, 2023. It's important to note the caveat: "A web app that has been added to the Home Screen can request permission to receive push notifications as long as that request is in response to direct user interaction — such as tapping on a 'subscribe' button provided by the web app." Since Home Screen web apps are no longer available in the EU, the Push API is effectively broken for EU users.
Badging API
The Badging API was described in the article Badging for Home Screen Web Apps published on April 25, 2023. The important caveat here is: "The user must grant the app permission to display notifications before the badge will appear." Since the Push API is no longer exposed, the Badging API breaks as collateral damage.
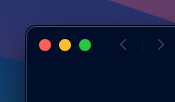
Standalone mode
Running in standalone mode allows Web apps to look and feel like native apps without any browser UI. This was particularly useful for game streaming services like NVIDIA GeForce Now or XBox Cloud Gaming, but also just any other app that wants to make best use of the limited screen real estate. Even manually entering fullscreen mode isn't possible anymore, as Safari 17.4 "[f]ixed multiple issues by disabling support for the Fullscreen API on iOS."
Stored data
Home Screen Web apps ran in a different isolated context than regular in-tab Web apps. This means that if you were logged in to a Web app from the Home Screen, you need to log in again in the browser tab, and all previously stored data is gone. This includes any data stored in:
- IndexedDB
- LocalStorage
- Media keys
- SessionStorage
- Service Worker registrations and cache
- Origin private file system
Exclusion from storage eviction
Home Screen Web apps were exempt from Safari's
7-Day Cap on All Script-Writeable Storage,
but now they aren't anymore. Unless you use a Web app regularly enough, its data
will be evicted from storage. This also
applies to WKWebView-based browsers
that have the com.apple.developer.web-browser entitlement:
Additionally in iOS 14.0 and macOS Big Sur, Intelligent Tracking Prevention (ITP), is enabled by default in all
WKWebViewapplications.[…]
Note that applications taking the new Default Web Browser entitlement always have a user control in Settings to disable ITP[.]
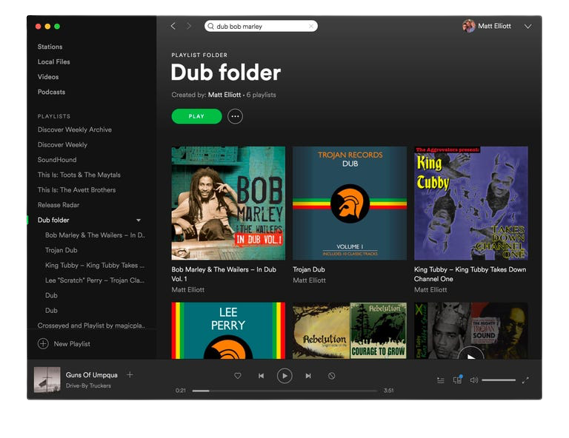
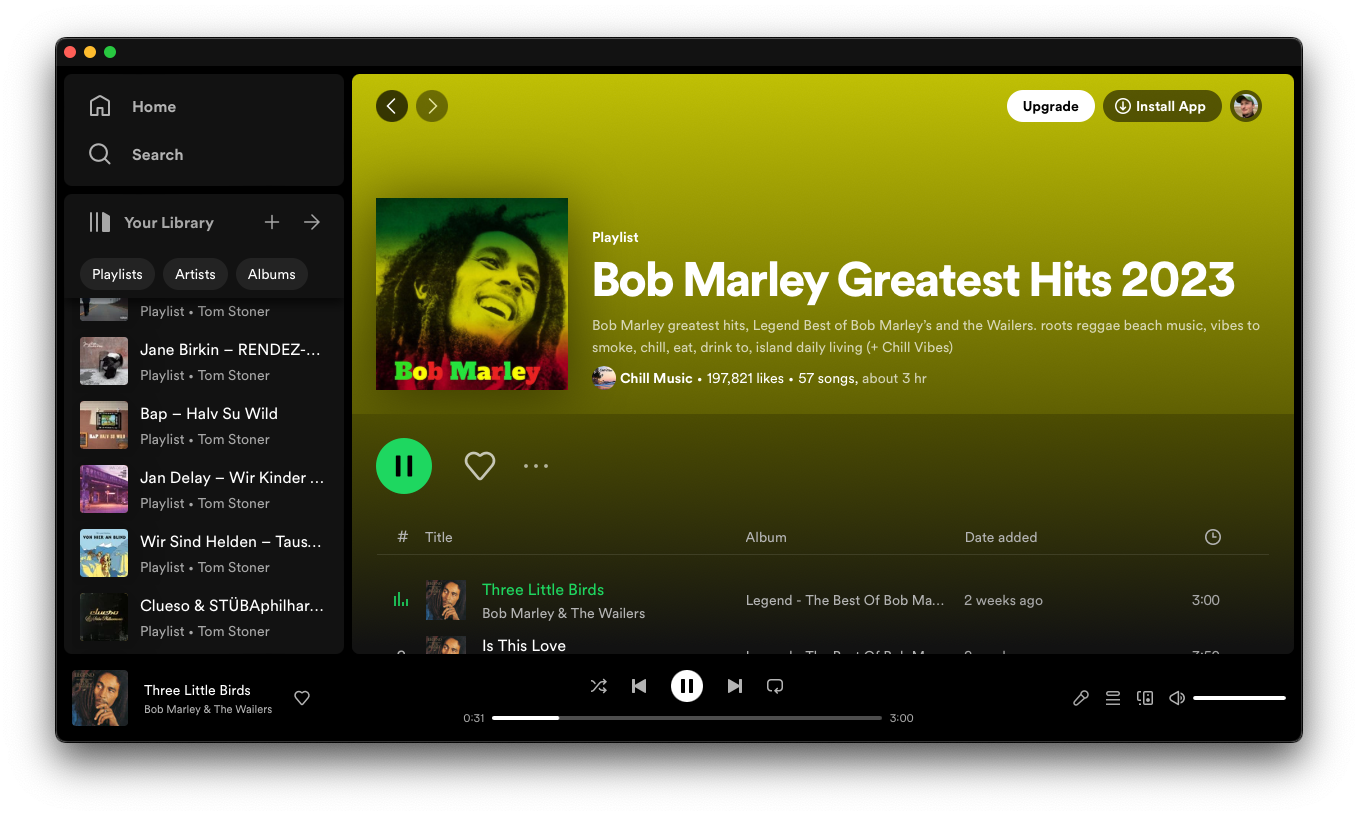
Multiple installs of the same Web app
iOS has supported multiple installs of the same Web app since the very beginning. Apple highlighted the ability for people to install any Web app more than once on their device, which can indeed be useful:
When adding a web app to the Home Screen, users are given the opportunity to change the app's name. iOS and iPadOS 16.4 combine this name with the Manifest ID to uniquely identify the web app. That way, a user can install multiple copies of the web app on one device and give them different identities. For example, notifications from "Shiny (personal)" can be silenced by Focus while notifications from "Shiny (work)" can be allowed. If the user gives their favorite website the same name on multiple devices, Focus settings on one device will sync and apply to the others as well.
Technically, this still works and people can add apps more than once, but because the apps now open in the same browser context, the multiple installs people used, for example, to sign in to different accounts, are now effectively useless.
What now?
The DMA opened the door for browser vendors to ship their own engines on iOS.
This would mean that push notifications, app icon badges, storage management,
storage eviction, and fullscreen/standalone mode could be decoupled from the
previous model of creating a browser shell that until now needed to embed a
WKWebView and at best could inject JavaScript to expose APIs that WKWebView
didn't support natively to Web apps. The process of
Using alternative browser engines in the European Union
is going to be maximally painful, as
Alex Russell points out
and as
Mozilla has gone on the record
to say.
According to the Financial Times and The Verge, the European Commission is on the case. This is what spokesperson Lea Zuber shared with both publications:
We are indeed looking at the compliance packages of all gatekeepers, including Apple.
In that context, we're in particular looking into the issue of progressive web apps, and can confirm sending the requests for information to Apple and to app developers, who can provide useful information for our assessment.
An open letter to Tim Cook
The good folks from Open Web Advocacy have written an open letter addressed at Tim Cook in which they outline why Sabotaging Web Apps Is Indefensible. As an immediate action, I would very much encourage you to go 🖋️ sign it. I did. And now back to my third morning coffee and my cats.
![]()
This post appeared first on https://blog.tomayac.com/2024/02/28/so-what-exactly-did-apple-break-in-the-eu/.


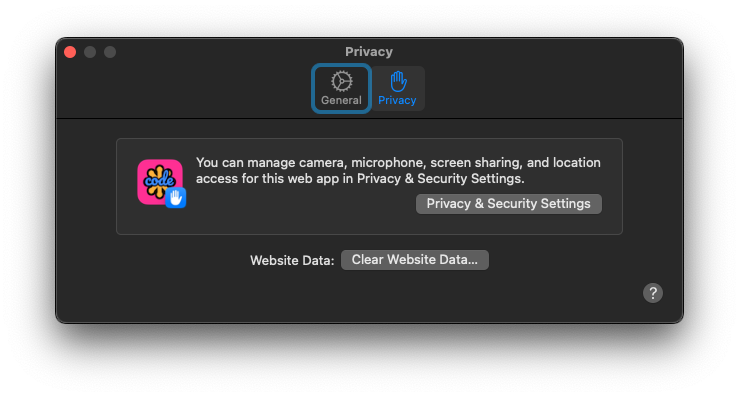
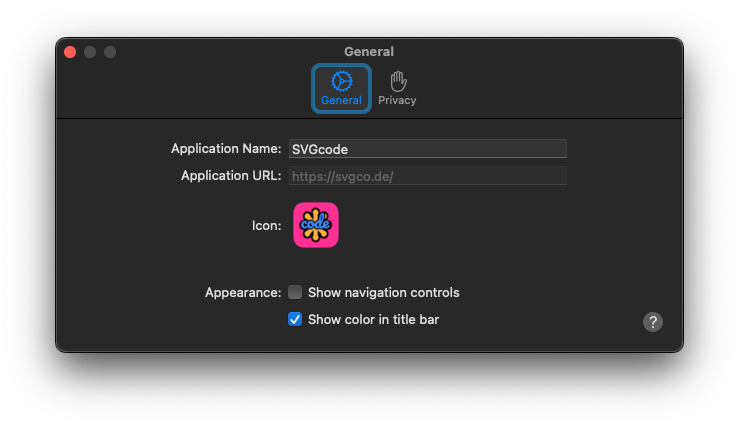 Web app Settings dialog on the General tab.